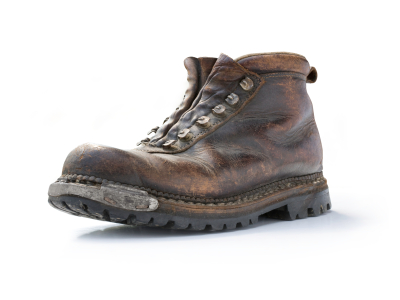
When conditioning and waterproofing your boots isn’t enough to keep your boots from coming apart, take things into your own hands with these easy to follow sole repair steps. When your boot’s soles become a problem, a good solution is needed in order to repair any type of boots. An easy fix has been found and can be a permanent repair for your boot soles. Make sure that the boot has been washed and dried before attempting the repair. Once they dry then proceed further. Rubbing alcohol should be used, wiping the bottom and sole of the boot that is damaged. A newspaper will then be needed in order to stuff the boot rigid. When this step is completed, proceed to the next step.
Using contact cement, apply the glue to both sole and boot and let dry thoroughly before proceeding. After the glue is dry, then move the two halves together gently. For the next step, the items needed would be either duct tape or C-clamps. This procedure works in different ways. Using a C-clamp, secure the sole and the boot in place. If duct tape is used, then wrap it around the boot to secure both items securely for as long as overnight. This holds the boot in place while curing the glue holding the repair together. Let cure overnight.
The final step in boot repair made simple is to inject sealant into the groove where the repair has been made. This is done to close the seam and to also keep dirt and debris as well as water from coming between the boot and the sole. The pair of boots has now been repaired and been made waterproof by the addition of the sealer that seals the area between the sole and the boot. It is a permanent repair and gives the boot more solidity and strength at the sole level. When repairs at the sole level are needed, this repair should be attempted in order to mend the damage done. When finished with these steps help extend the overall life of the boots by going the extra mile to condition and waterproof them for a complete boot rescue.


